Showing posts with label Breads. Show all posts

Sunday, January 25, 2015

Easy Homemade Crackers

Happy Sunday! I have finally decided to post my homemade crackers recipe I have been putting off for a while. This is mostly due to my laziness - I admit it. Aside from posting this recipe, I have an exciting day planned which includes organizing my closet. You are right, I am not all that excited about this task. It has to be done. I have been consistent with keeping my closet organized for a while, and then it became a mess. I know nothing becomes a mess on its own. Someone told me once disorganized spaces in our homes may reflect what goes on in our minds. Perhaps this is true on some level for me. However, I will not let that deter me from organizing my closet and my mind for that matter, today. Rock on!
Easy Homemade Crackers
Crackers Ingredients
2 cups unbleached all-purpose flour
2 teaspoons baking powder
1 teaspoon salt
1 teaspoon onion powder
1 teaspoon smoked or regular paprika
1/2 teaspoon turmeric
3 tablespoons nutritional yeast flakes
2 tablespoons flavored or regular olive oil (I used garlic flavored olive oil)
3/4 cup or less unsweetened almond or soy milk, add gradually
1/4 cup sesame, poppy or flax seeds to sprinkle on top of crackers, optional
Let's do this! 
Directions 
Preheat oven to 425F. In a large bowl combine flour, baking powder, salt, onion powder, paprika, turmeric, and nutritional yeast flakes. Use a whisk to incorporate all of the dry ingredients. Now add oil and 1/2 cup of milk. You may not need the entire 3/4 cups of milk for this recipe. Begin to knead the dough and slowly add the rest of the milk until all the flour is incorporated. The dough should be moist, but not sticky. This is what the dough should look like.
You can do this! 
Dive the dough into two "equal" parts and roll out each part into a thin pancake. Like this:
Dough divided into two "equal" parts. In case you are wondering, you will not need extra flour for dusting your work surface. The dough comes off easily and does not need extra flour.
We are ready to shape the crackers. You can use any small or even large cookie cutters to make fun shapes like these:
I purchased these cookie cutters on sale at H&M's Home Department for a $1.00. 
Once you cut out the cracker shapes using cookie cutters, combine the remnants of the first part of the dough, roll it out, and continue forming crackers using cookie cutters until all the dough is gone. Now move on to the second half of the original dough you set aside. Repeat the process.

Note: The more you work with the same dough the less pliable it will become. To prevent this, be sure not to combine the remnants of the first half of the original dough with the other half of dough you set aside.
Fun activity for both adults and the little ones. 
If you are not up to speed with using cookie cutters to shape your crackers or you simply do not have any cookie cutters on hand, no worries. Use a knife to cut your crackers into squares on an angle or however you prefer. Like this:
You can do this directly on an oiled cookie sheet pan or a working surface, followed by placing the cut out cracker shapes on an oiled cookie sheet pan. 
Before the crackers go into the oven, be sure to oil the cookie sheet pan with a non-stick cooking spray. I do not own a cookie sheet pan at this juncture of my life. I used aluminum foil coated with non-stick cooking spray instead to bake the crackers. Beware of slippage when taking out baked crackers from the oven when using aluminum foil instead of a cookie sheet pan. I have lost a few cracker friends this way. I recommend using a cookie sheet pan to bake these crackers instead of aluminum foil if available.
Now sprinkle sesame seeds on the crackers and gently press them into the dough. Do not use non-stick cooking spray at this point. If you do, the sesame seeds will fly away. Literally. 
Bake the crackers for 9-10 until the crackers are golden brown, but not burnt.
Ready to party!
These crackers are best eaten when fresh. These also taste great the next day, but are not as crunchy. Serve with salsa, hummus or drop a few to your soup for good measure. Store in a closed container lined with a paper towel to absorb moisture for up to 3 days.
Cheers! 

Saturday, June 28, 2014

Easy Gluten-Free Banana Bread

I was not planning on making a banana bread anytime soon and yet I was compelled to do so when I looked at my counter filled with overly ripe bananas. I have been on a banana eating frenzy for quite some time. I am unable to explain it. I always liked bananas, but never to this extent.

I like bananas to be a particular way before I eat them. They have to be somewhat green, and not soft. I will not eat ripe bananas. This is why I made this banana bread. I also had some leftover gluten-free flour mix I wanted to finish up, hence a gluten-free creation. Use regular flour if if you prefer, just be sure to add it gradually. You may need less of regular flour than the two cups of gluten-free flour indicated to make this recipe.

Cheers!
Banana Bread
Banana Bread

Ingredients
4 medium overly ripe bananas, mashed
1/2 teaspoon cinnamon
1 tablespoon chia seeds
1/4 cup unsulphured molasses, maple or agave syrup
2 teaspoons baking powder
1/4 cup melted coconut oil or canola oil
2 cups gluten-free flour (I used Bob's Red Mill Gluten-Free Biscuit and Baking Mix)

*Non-stick cooking spray for coating the baking dish.

Directions 
Preheat oven to 350F.

In a large bowl mash the bananas with a fork. Leave some chunks of banana for texture. Add cinnamon, chia seeds, and baking powder. Mix well to incorporate the baking powder. Add the gluten-free flour, molasses, and coconut oil. Mix well using a spatula.

Coat a 9 x 5" loaf pan with non-stick cooking spray and add the banana bread batter. Wet your fingers with warm water to spread the batter in the loaf pan "evenly." The batter will be sticky and difficult to spread using a spatula. I find this method most effective for this task.

Bake uncovered for 30 to 35 minutes until a clean toothpick or a metal skewer comes out clean when inserted in the center of the banana bread.

Allow 10 minutes to cool off before removing from the baking dish and slicing.

Store in a tightly closed container, in room temperature, for up to 3 days. Be sure to place a paper towel on the bottom and top of the container to absorb excess moisture.
Eat!

Sunday, June 22, 2014

Simple and Quick Lemon Poppy Seed Scones with Vegan Cream Cheese Frosting

Sundays are usually designated for cleaning and catching up on things I purposely avoided doing all week. In effort to make this day more exciting, I have decided to try my hand at making scones for breakfast today. I have never made scones. I am definitely not a baker. I also know there is science behind baking. Using appropriate levening agents to flour ratio often stands in the way of making good baked goods versus bad baked goods.

I am happy with the flavor, texture and ease of these scones. I am very excited about the endless possibilities for other scone variations. Instead of poppy seeds, add raisins or dried cranberries and skip the lemon juice and lemon zest. Orange zest and juice from one small orange would be a great replacement for the lemon juice and lemon zest.

Be sure to let me know how your scones turned out.

Cheers!
Lemon Poppy Seed Scones with Vegan Cream Cheese Frosting 
Lemon Poppy Seed Scones (Makes 16 Scones) 

Scone Ingredients
3 cups unbleached all-purpose flour (or 4 cups unbleached all-purpose flour and skip 1 cup whole wheat flour)
1 cup whole wheat flour (skip if using 4 cups unbleached all-purpose flour)
1 and 1/2 cups unsweetened organic soy milk or unsweetened almond milk
1 teaspoon salt
3 and 1/2 teaspoon baking powder
1/2 cup organic powdered sugar
2 tablespoons unsulphured molasses, agave or maple syrup
2/3 cup poppy seeds
Zest and juice of 1 medium organic lemon (when using lemon zest in recipes, organic lemons are more desirable)
1/2 cup vegetable oil

*Non-stick cooking spray for coating the baking pan.

Frosting Ingredients (Double this recipe if you like abundance of frosting)
3 tablespoons plain vegan cream cheese
1/4 cup organic powdered sugar
Zest and juice of 1 medium organic lemon
1 to 2 teaspoons unsweetened organic soy milk or unsweetened almond milk
I drizzled about 1 teaspoon of frosting on each scone. If you like more frosting, double the frosting recipe, then pour away! 
Directions 
Preheat the oven to 450F. Coat one large or two small baking pan(s) with non-stick cooking spray.

In a large bowl, combine the flour, salt, baking powder, poppy seeds, and sugar. I used a whisk for this task. Now add all the remaining ingredients and knead until dough is formed. It should take less than a minute. This dough comes together very quickly.

Divide the dough into two "equal" pieces. Roll the two "equal" pieces, using your hands, into a thick wide snake  - that's the best description I was able to come up with. Cut each snake into eight "equal" parts. Each snake yields eight scones, making 16 scones total.

Place the scones flat side down on the oiled baking pan and bake for 12 to 15 minutes, until the scones are golden. Be careful not burn them.

While the scones are baking, make the frosting. In a food processor or a high-speed blender combine all the frosting ingredients and blend until smooth and creamy. Start with 1 teaspoon of plant milk first, and add another teaspoon if having difficulties making the frosting move along the walls of the blender. Be patient.

Alternatively, whisk the frosting by hand, and be sure to use room temperature vegan cream cheese.

Once the scones are ready, place them on a cooling rack, and drizzle the frosting using a teaspoon (about 1 teaspoon of frosting per scone).

Once cooled, store in a dry, cool place, in a closed container, for up to three days. Be sure to place paper towel on the bottom and top of the container, to absorb excess moisture.

Later!
Eat!

Sunday, February 2, 2014

Easy Savory French Toast. That's All For Today!

Today is Superbowl! However, the excitement and all that it carries along with it, is indeed omitted on me. In spite of that, I support all the peeps that support the Superbowl and all its glory.

I have a paper due this week, and I am trying desperately not to leave it for the last minute. Will I succeed? I shudder considering prior evidence…

Anyhow, I leave you with this recipe, and hope this Sunday exceeds your expectations. Think small!

Cheers!


Savory French Toast
Savory French Toast 

Ingredients
4-6 slices bread of choice (I used Ezekiel bread)
*Can be made gluten-free if using gluten-free bread. 
1/2 cup chickpea flour
1 cup unsweetened plant milk of choice (I used almond milk)
1/4 teaspoon turmeric
1/2 teaspoon onion powder
1/2 teaspoon, or less, Himalayan pink salt (any kind of salt will do)
2 tablespoons nutritional yeast flakes
Freshly ground black pepper to taste (about 1/4 teaspoon)

Non-stick cooking spray for frying.

*You can also add 1-2 tablespoons herbs of choice (dried or fresh) to the batter.

Directions
Preheat a large non-stick cooking pan over a medium heat, and generously coat it with non-stick cooking spray. Use oil or vegan butter for a richer flavor.

Prepare the batter. In a large bowl, whisk together all the batter ingredients.

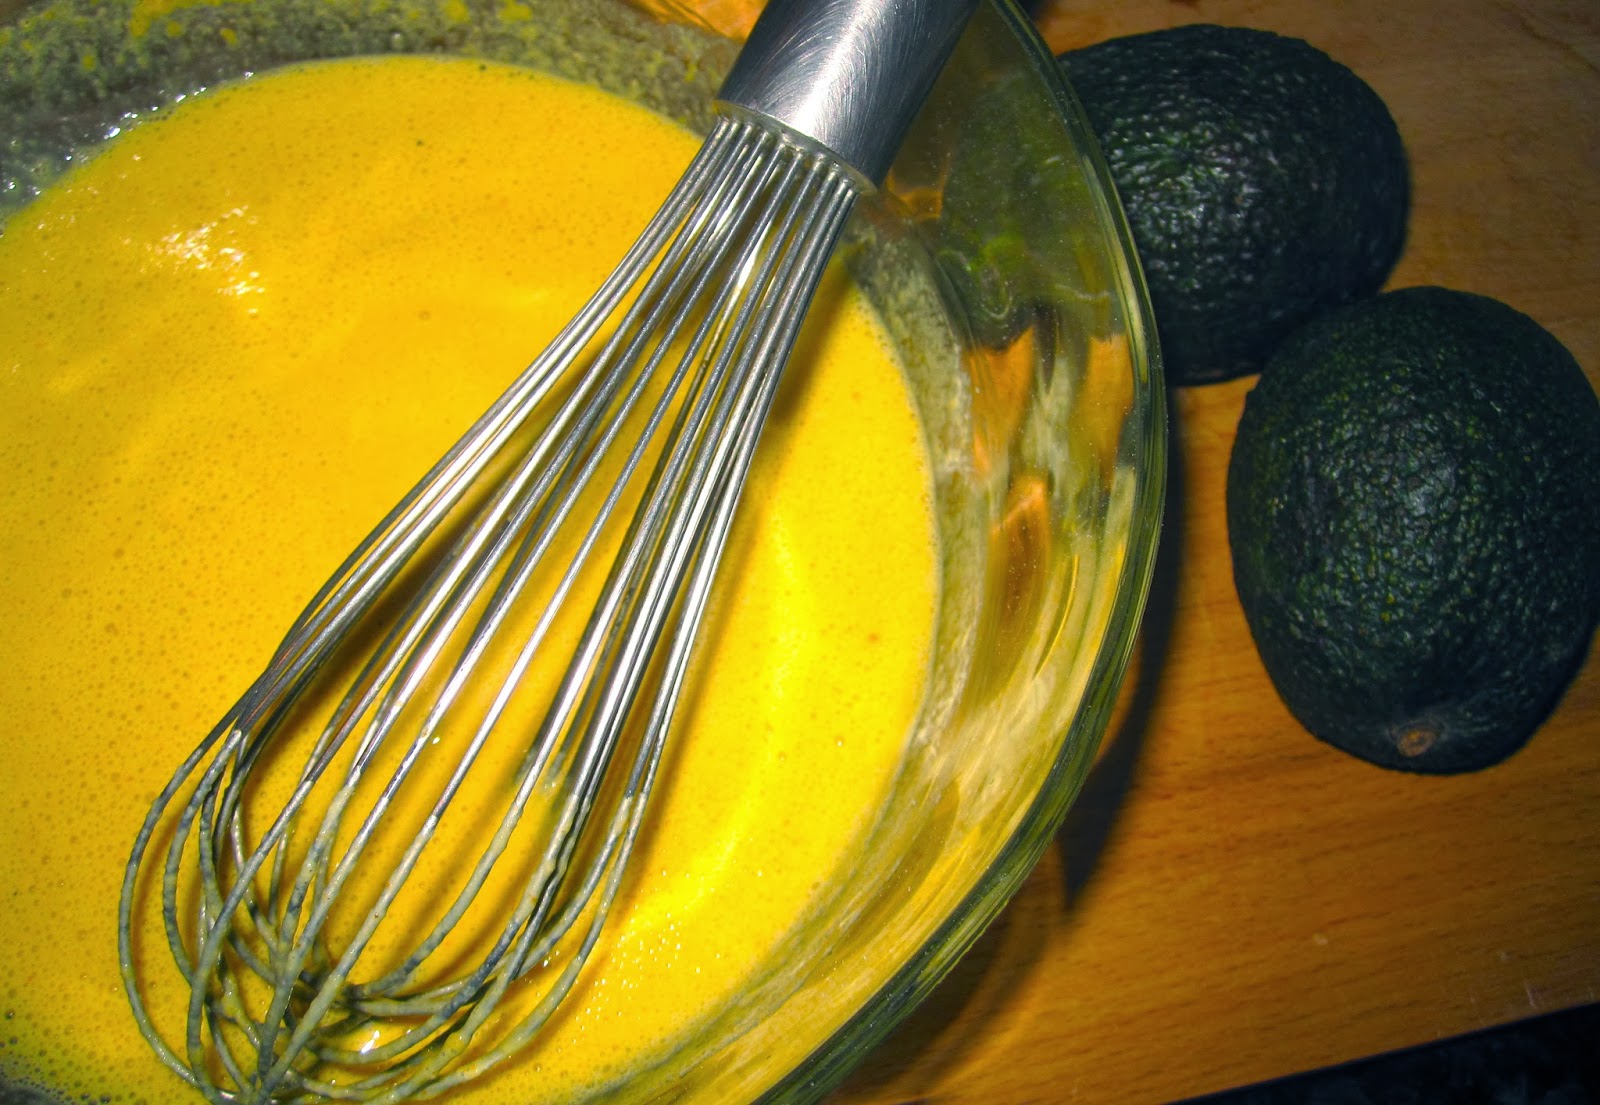
This is what the batter looks like. 
By now the pan should be warm. Place each slice of bread in the batter, coat on both sides. I like to soak the bread slices on each side for a few seconds to ensure good absorption and ultimate flavor.

Fry each toast, two at a time, on each side for about 4-5 minutes until crispy. The batter should not be raw when turning the toast. You will know what raw looks like when you encounter it.

If you decide on using less bread, and have extra batter remaining, pour some more over the frying bread. Serve right away.

Great with vegan butter! 
And…..

Tastes great with fruit preserves. Eat! 

Saturday, February 1, 2014

Poppy Seed Buns with Sweet Crumble Recipe

Hello!
I have fond memories of eating poppy seed or fruit filled buns as a kid. I remember when I was in junior high in Poland, during breaks, most kids would go to a bakery near by, to get these buns. 

Today I was feeling nostalgic, but I was not too keen on making the dough from scratch. I have decided to use ready pizza dough, I had stashed in the refrigerator, for days like these. 

Post Scriptum - I wanted to mention saying the word "buns" over and over again thorughout this post  made me laugh. Did you have a similar experience? 

Cheers! 

Poppy Seed Buns with Sweet Crumble
Poppy Seed Buns with Sweet Crumble (Makes 8-10 Buns) 

Ingredients
1 (16-oz package) prepared pizza dough (Allow to rest on the counter for 10 minutes, prior to using. I don't recommend whole wheat pizza dough for this recipe.)
*Use your own pizza dough recipe, if you are feeling ambitious. I wasn't. Lazy pants! 

Poppy Seed Filling
1 cup poppy seeds, soaked in boiling water
2 tablespoons vegan butter
1 teaspoon almond extract (vanilla extract may be substituted)
3 tablespoons organic powdered sugar

Sweet Crumble
1/4 cup all-purpose flour
1.5 to 2 tablespoons raw cane sugar, depending on sweetness preference (I used 2 tablespoons)
2 tablespoons vegan butter

*Unflavored plant milk of choice, for coating buns (about 2 tablespoons) 

Great with vegan butter or fruit preserves.
Directions
Boil water in a tea kettle, enough to cover the poppy seeds (about 1.5 cups). Place the poppy seeds in a glass bowl. Submerge completely with boiling water. Cover with a plate, and allow to sit for about 20 minutes. This helps with getting the poppy seeds moist and to get rid of their bitterness.

Preheat oven to 425 F.

Now place the soaked poppy seeds in mesh sieve, to drain excess liquid.

Like this. 
Place soaked and drained poppy seeds back into the bowl. Add the remaining poppy seed filling ingredients. Mix well, and place everything in a high-speed blender or a food processor, to make a paste. I highly recommend that you follow this step, for better flavor and consistency.

Let's talk dough… Divide the prepared pizza dough into 2 pieces. Now divide each into 4 pieces. To make the buns smaller, to yield 10 instead of 8, divide the pizza dough into smaller pieces yet.  I will let you figure that out though. I am not a mathematician, so you know…

Coat a baking sheet with non-stick cooking cooking spray.  Stretch or roll out each piece of dough into a small flat circle. Like this.

Place about 2-3 tablespoons of filling onto a rolled out piece of dough, and pinch the top to secure it. Shape into a bun by rolling it into a ball using a nifty tool known as hands.

Place each bun, seam down, onto the baking pan. Coat each bun with plant milk, using kitchen brush.

We are almost at the finish line. Still with me? Sweet crumble time!

Combine the flour with sugar. Mix well. Add the vegan butter and incorporate it into the flour using your fingers. The consistency is that of "inedible" sand. Not that there is "edible" sand around. I could be wrong!

Top each bun with as much sweet crumble as you can. Bake for about 25-30 minutes, depending on the size, amount, and the temperature of your oven.

The buns will be ready when they turn golden color, and are not raw inside - obviously!  To prevent the raw dough phenomena, stretch out the dough evenly, when forming, and flatten each one with your fingers, but not that much.

Well, that's it boys and girls. As you were...

Eat! 

Saturday, January 18, 2014

Scallion Pancake and Happy CATurday! - See What I Did There?

Hey Peeps! 

Not much to report today except for…

Dude and Paulina! 
Wish you a Happy CATurday! 

Enough. Let's make something awesome!

Scallion Pancake with Dipping Sauce 
Scallion Pancake with Dipping Sauce (Makes 2 Servings)

Ingredients
2 cups unbleached all-purpose flour (because you don't want bleach in your food or near your mouth)
Up to 1 cup hot water (not boiling water)
1/4 teaspoon turmeric (gives the pancake a nice color)
1/2 teaspoon salt
Freshly ground black pepper to taste (about 1/4 teaspoon)
About 1/2 cup chopped scallions (add at the end)
1/2 teaspoon vegetable oil or non-stick cooking spray to coat the dough while it rests, plus additional oil for frying

Dipping Sauce 
1/4 cup soy sauce (I used low-sodium soy sauce)
1/4 teaspoon crushed red pepper flakes (optional)
1 tablespoon sweet chili sauce
1/2 teaspoon mirin
1/2 teaspoon sesame oil
2 tablespoons raw cane sugar
1 tablespoon chopped scallions (add at the end)

Cheers! 
Directions
Boil water in a kettle first. Once ready, set aside for about 10 minutes.

In a large bowl, add flour, salt, turmeric and pepper. Combine well with a whisk. Now gradually add hot water. I usually add about 3/4 cups of hot water first while mixing the dough with a spatula. Then I add a bit more to get the desired dough consistency while kneading it - not too dry nor too wet.

Roll the dough into a ball, and rub it with about 1/2 teaspoon of vegetable oil or use non-stick cooking spray instead. Place the dough in a clean bowl. Cover with a moist towel, and set aside for 20 to 30 minutes. This is what my dough looks like.

Supermodel! 
While the dough is getting its THANG together, make the dipping sauce. In a small bowl, combine all the ingredients except for the scallions. Mix well until the SUGAH dissolves properly.

Once you are ready to consume this dish, place the dipping sauce in a microwave for about 30 seconds, and then add the scallions. Ready to go!

*If you are unable to get the ingredients listed for this dipping sauce, you can mix soy sauce, sugar, garlic and onion powder, and even some ketchup. Then add scallions!*

This is what the dipping sauce looks like.

Second attempt at making it proved to be fruitful. The first time I made it, the ratio of ingredients was way OFF. 
Ready to roll out the dough? Ok, let's do this. After resting time, roll out the dough to a semi-thin pancake. Like this.

Add the scallions on top. 
Fold it in half. Like so...

Still with me? 
Now roll it using your hands to a thick "snake like creature." You heard me right.

Friendly "snake like creature"
Almost done. Now roll the "snake like creature" into a snail. Say what? Like this!

All you do is take the end of the "snake" and keep rolling it until you get this shape.
Now roll out the dough with a rolling pin to a flat pancake again. You can do this!

Keep on rolling...
Repeat the this process at least 3-5 times. Why? That's how you get the layered texture in the pancake:

  1. Fold in half. 
  2. Make a snake. 
  3. Turn the dough into a snail. 
  4. Roll out into a flat pancake. 
Preheat a large non-stick frying pan over a medium heat with about 1-2 tablespoons of vegetable oil. Roll out the pancake to about the size of your pan. Place in a frying pan, when ready, and fry on each side for about 8-10 minutes. 

Be sure to lower the heat to medium-low while frying to prevent from burning. Flip over and repeat. 

Fry it up! 
To prevent from having raw dough inside the pancake, give it ample time for frying on medium-low heat. 

You can also divide the dough in half prior to going through the forming process and make two smaller pancakes instead one big pancake. This way, it will be easier to gauge the readiness of the pancake. 

Cut with kitchen scissors and enjoy! 

Monday, September 9, 2013

Polish Street Food - ZAPIEKANKA # Vegan MoFo

Zapiekanka

No matter where you hail from, you are probably familiar with the street food available in your town. I grew up in a small town in Poland where Zapiekanka was The Queen of All Street Food. This entry is not about a recipe, but rather a humble meal idea for those who are interested in using up stale baguettes and boring leftovers in a fun, new way.

What is Zapiekanka? It is the Polish version of pizza, if you will. I eat it when I don't feel like cooking or need a crunchy and "cheesy" pick me up. Aside from that, it is delicious, simple and can be anything you want, from the toppings perspective of course.

I often use a stale baguette (use fresh if you are so inclined), top it with vegan cheese, mushrooms, and tomato and bake it at 350 F until crispy, for about 6-7 minutes. Other times, I add a veggie burger, leftover pesto or olive tapenade, and vegan parmesan. The possibilities are endless. Lastly, I drizzle it with ketchup as that is the official way to eat it.

Cheers!

Fast Food, Polish style. 

Monday, August 19, 2013

Quick Beer Bread Pizza Dough

Quick Beer Bread Pizza Dough
Sundays are usually somewhat productive days for me in comparison to Saturdays. I wake up, feed the feline brood, clean the apartment (oh joy!), and speak to mom and brother - they live in Poland - for an extensive period of time.

I also make or purchase pizza every Sunday. In the past, when I lived in NYC, pizza day used to take place on Fridays. Now that I live in Boston, I thought I would switch things a bit in order to make life more exciting. Thus, Pizza Sunday was designated.

Back to pizza recipe inspiration. Oftentimes, after a three-hour long conversation with Polandia, I find myself to be very hungry. I don't want to wait for the pizza dough to rise or bother with delivery. This Sunday, I thought I would try making beer bread pizza dough - a spin off my 3-Ingredient Beer Bread. I am happy to report the recipe worked out.

Cheers!

Viva Vegan Pizza! I topped mine with tomato sauce, kalamata olives, sautéed spinach, mushrooms, and Trader Joe's Vegan Style Mozzarella Shreds. 
Quick Beer Bread Pizza Dough (Makes about two 8-inch thick crust pizzas)

Ingredients
4 cups self-rising flour (not regular flour)
1 (12-oz can) vegan beer of choice, at room temperature
2 tablespoons olive oil
1/2 teaspoon salt
1 teaspoon vegan sugar
1 tablespoon dried oregano (optional)

(Two aluminum foil sheets coated with non-stick cooking spray for baking)

Directions
Preheat oven to 425 F. In a large bowl, combine 3 cups of self-rising flour with salt, sugar and oregano. Add olive oil and beer. Mix well. Gradually, add the remaining one cup of self-rising flour, while mixing the dough with a spatula at the same time. This dough will be moist unlike regular pizza dough. With that in mind, use your hands to flatten it instead of rolling it out.

Divide the dough into two 'equal' pieces. Shape each piece on the prepared aluminum foil to thickness of choice, using one hand. Wet your fingers in warm water, as many times as necessary, to prevent from sticking and for ease of shaping. This method works really well.

Once you have the dough shaped to the size and the thickness of preference, top it with preferred base such as tomato sauce or pesto. Now add toppings of choice. Carefully transfer the pizzas using both hands to the oven and bake at 425 F for 15-20 minutes. The dough puffs up and gets golden brown around the edges when ready.

Tuesday, July 30, 2013

3-Ingredient Beer Bread

3-Ingredient Beer Bread
Ok, I might be able to decipher your thoughts, indicating great concern as to the taste of this awesomeness that I call 3-Ingredient Beer Bread. As you scroll down this page in disbelief, I will convince you that making this bread is easy. Dare to accept the bread making challenge? If so, the winner gets...let me think about the award a bit more.

Cheers!

I ate a pice of bread and now the picture looks bad ;) 

3-Ingredient Beer Bread 

Ingredients
1 (12-oz can) vegan beer of choice, at room temperature (I used Samuel Adams Summer)
2 and 2/3 cups self-rising flour (not regular flour, found in the baking needs section of your supermarket)
1/3 cup green onions, finely chopped

Directions
Preheat oven to 375 F. In a large bowl, combine the self-rising flour, green onions and beer. Mix well using a spatula. Grease 8-inch loaf pan with non-stick cooking spray and add the bread mixture. Spread evenly, coat with non-stick cooking spray and bake for 50 minutes. The bread is ready when the sides pull away from the loaf pan and the pick inserted in the center comes out clean. Remove bread from the loaf pan and allow to cool before serving. That's it!

*Note
Instead of green onions, add vegan cheese or anything else you fancy.